Complete Guide to uPVC Door Fittings
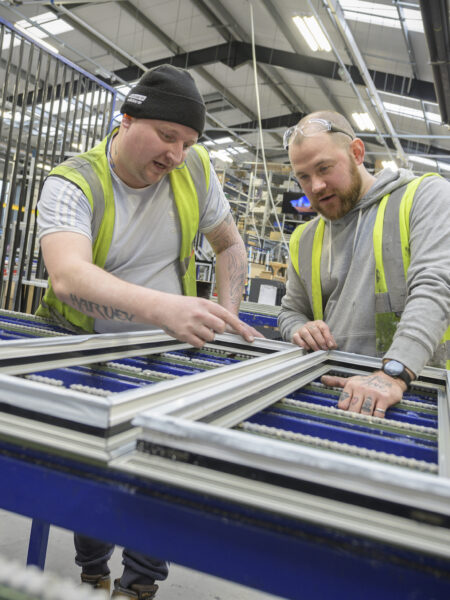
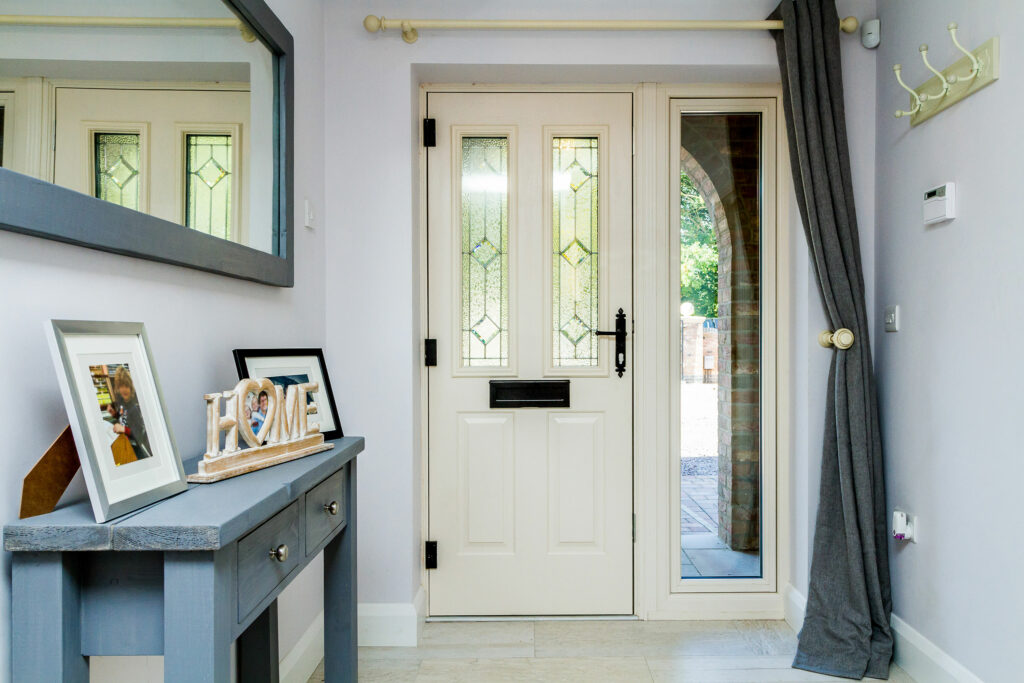
Modern uPVC doors can benefit your home in several different ways. At Sternfenster, we work with industry leading profile systems from Deceuninck to bring homeowners the best uPVC doors on the market today. If you want to learn how we fit our high performing doors, we have compiled this comprehensive guide.
How Are uPVC Doors Installed?
Our Sternfenster approved installers are committed to fitting uPVC doors perfectly every single time. This step by step uPVC door installation guide can help you get to grips with Sternfenster’s fitting process.
Read on to find out step by step guide to give you insight into how our experts install made to measure uPVC doors.
Before we begin any uPVC door installation, we always check the specifications of your new door against the survey size and actual aperture sizes.
Step 1 – Preparation
When measuring the uPVC door, we leave a 5mm expansion gap on both sides of the frame. Measuring correctly will ensure there is enough room to square the frame in the opening.
Step 2 – Remove the existing door
Before a new door can be installed, the old one needs to be removed. We use a drill to loosen the hinges, then carefully remove the old door sash. With a sharp blade, we run along the edge of the frame to break the bonds between the existing structure and the wall.
If there are any fixings around the frame, we remove those before cutting a diagonal line in the centre of each side of the wooden frame. With a flat bar, we pull the wooden frame away from the wall completely, be careful while doing so to prevent damage to the surrounding area.
Step 3 – Prepare and Fit the Cill
Next up in your uPVC door installation, we measure the width of the door opening and cut the new cill to size. Before this, your approved installer will check to see if you have a preference.
Super glue is then used to secure the cill end caps in position. Once secured, a spirit level is used to determine if they are straight. Your installer will then place the cill to one side and apply a sealant to the ground before securing the cill into position. The next step is to run a bead of silicone along the edge, creating a watertight seal that prevents moisture from entering the joints and damaging the cill.
It is now time to remove the wrapper of your brand-new uPVC door and fit the handle in place.
Step 4 – Fit the New Door and Frame
To fit the uPVC door correctly, we carefully place it into the opening above the cill and make sure the 5mm expansion gap is maintained at all times. Once the door is in place, we open the door so the outer frame can be fixed to the wall.
While securing the fixings along the frame, we place appropriate-sized packers adjacent to stop the outer frame from distorting during the rest of the uPVC door installation process.
The next step is to drill a hole at the top of the door above the hinge and secure the frame in place.
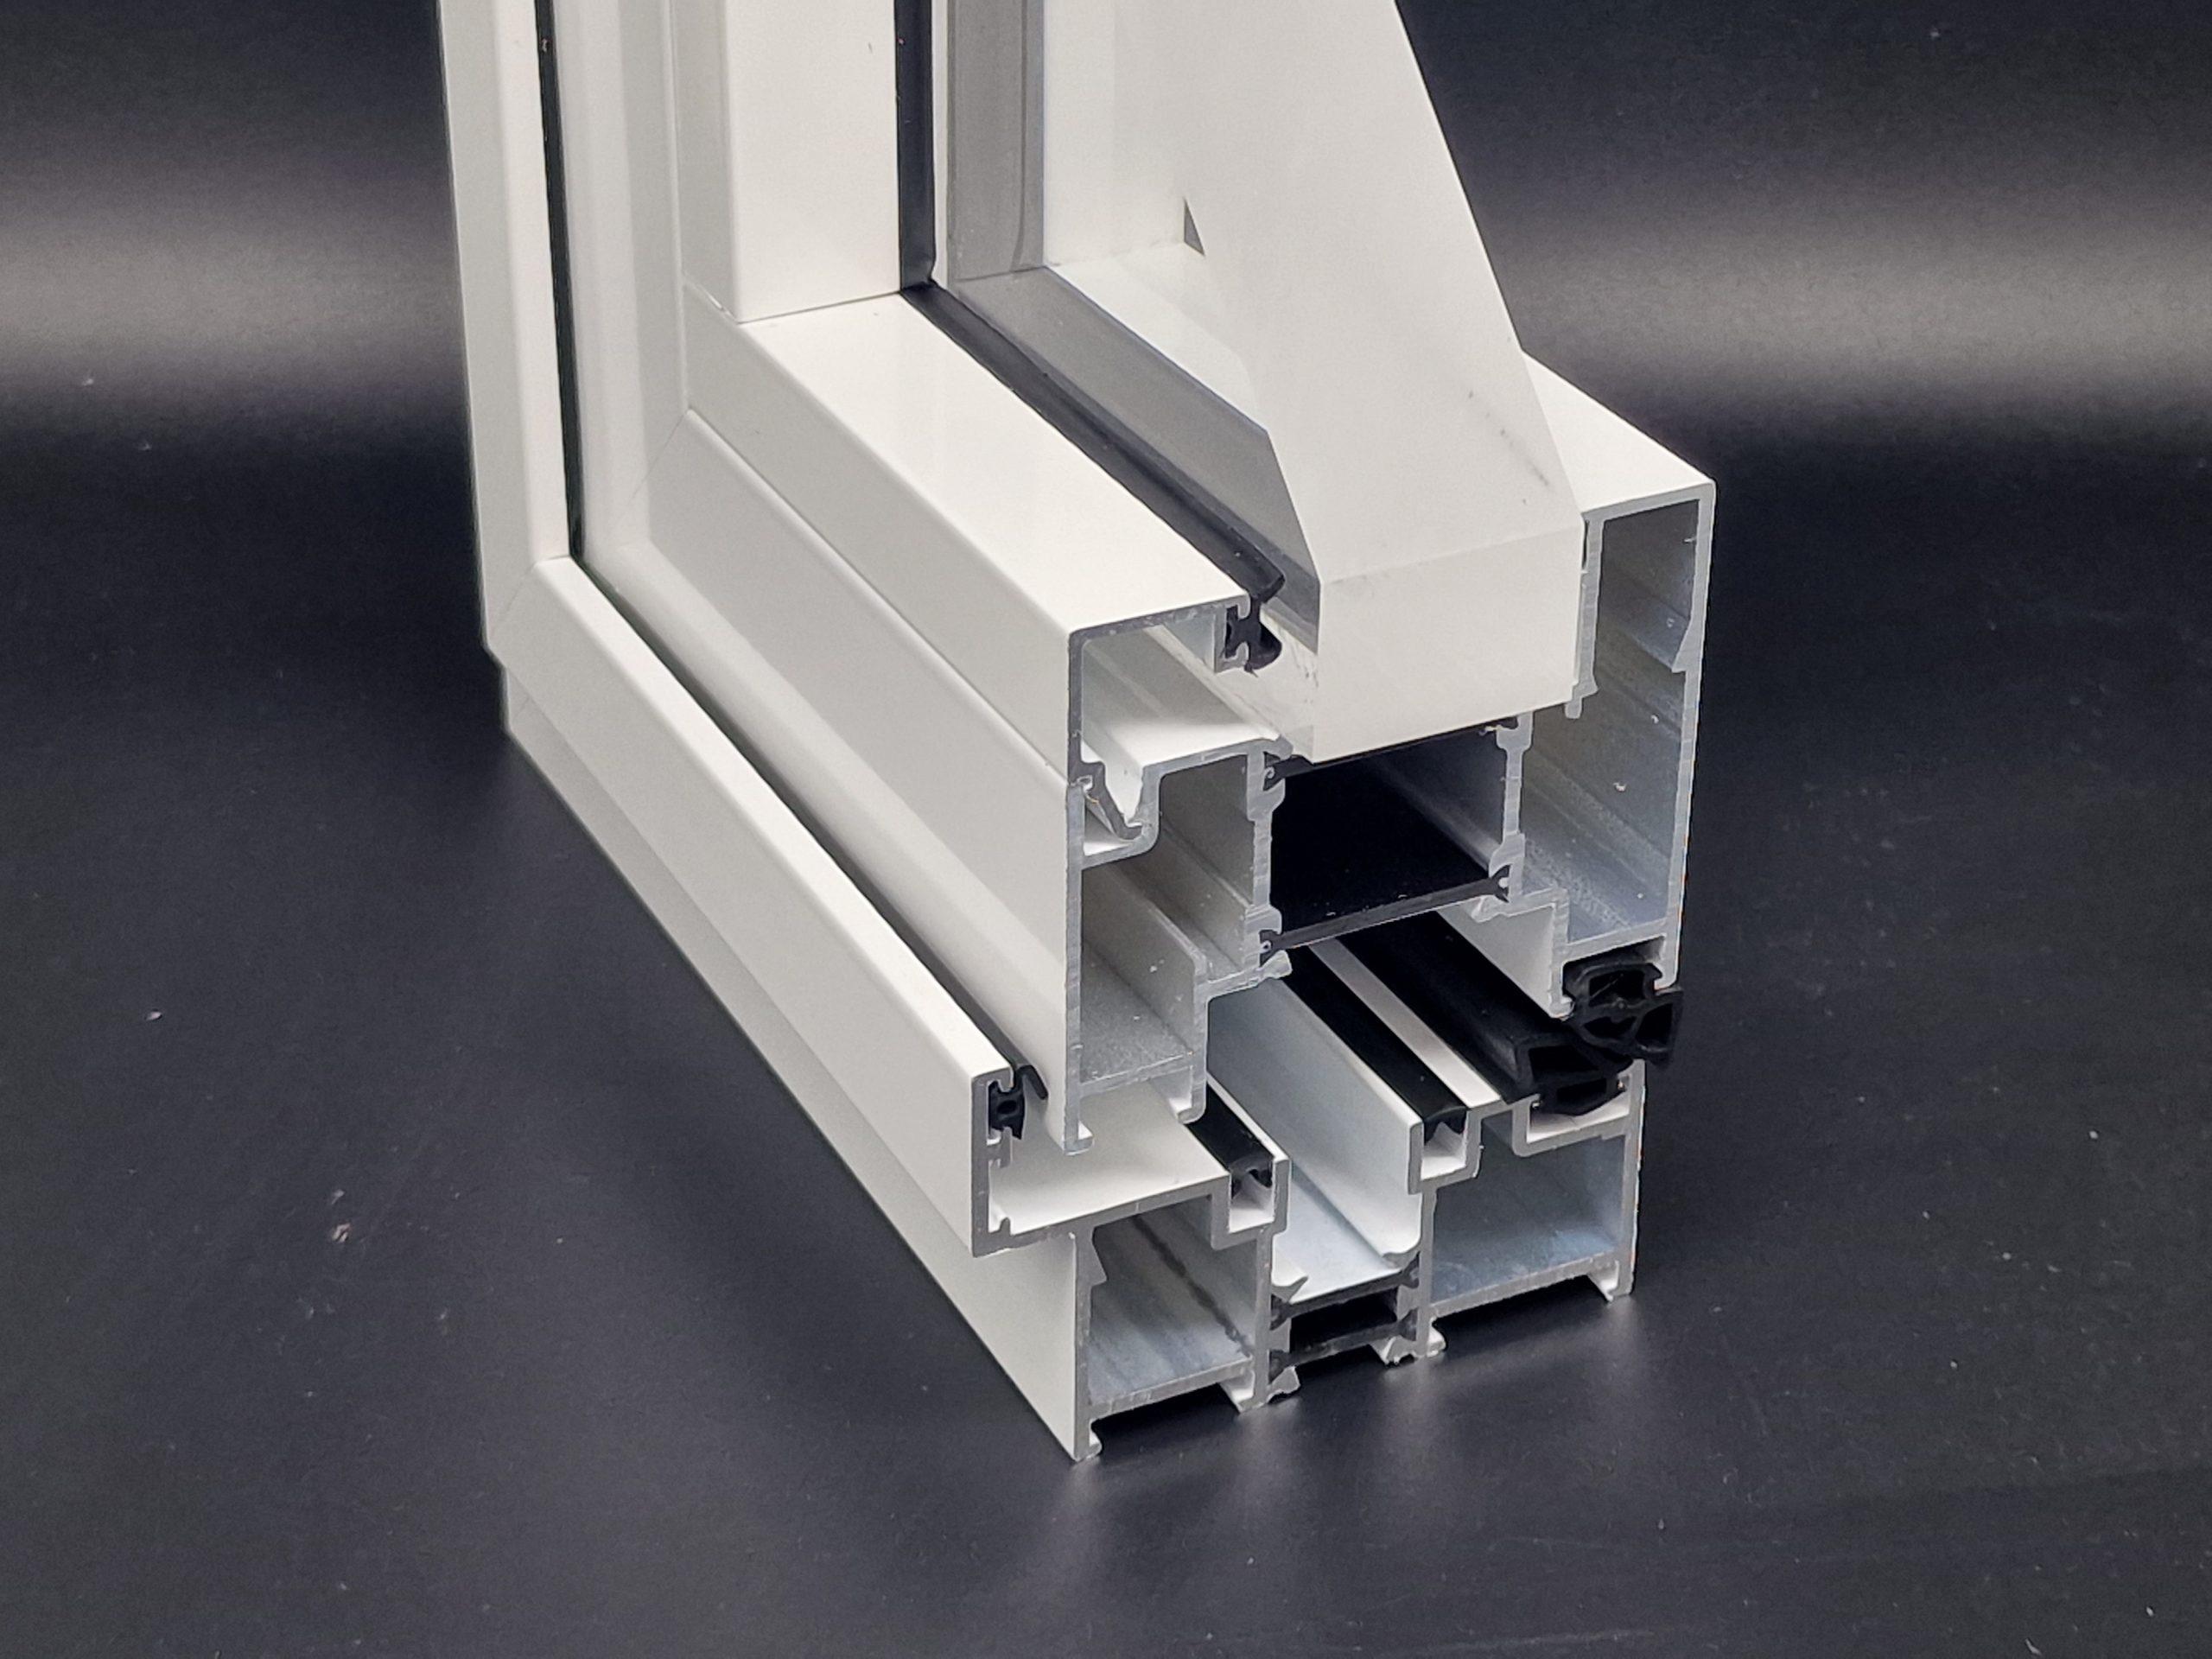
Step 5 – Install Glass Pane
To install the glass pane into a Sterfenster uPVC door, the glazing beads need to be removed. These beads are always stored somewhere safe, as we will need them again later.
The black bridging packer in the bottom corner of the hinge side is fitted before installing the clear bridging packers in the top corners of the handle side. Next, we carefully install the glass against the bridging packers. To remove any gaps and also keep the glass straight and parallel in the aperture, we insert glazing packers.
We also use silicone to keep the packers in place and refit the glazing beads back into the correct position. The beads can be easily clipped into place, and using a rubber mallet will ensure they are securely installed. Now that the glass is fitted, we check that everything is secure and held in place.
Step 6 – Complete the uPVC Door Installation
The Sternfenster uPVC door installation is almost complete. All we need to do now is remove the excess length of the packers with a chisel and fit any external trims if necessary. Finally, we remove the protective tape, clean the frame and seal the door with a smooth line of sealant. With a final assessment, we determine that your Sternfenster uPVC door installation is complete.
For a full tutorial on a Sternfenster door installation, watch our step-by-step video today!
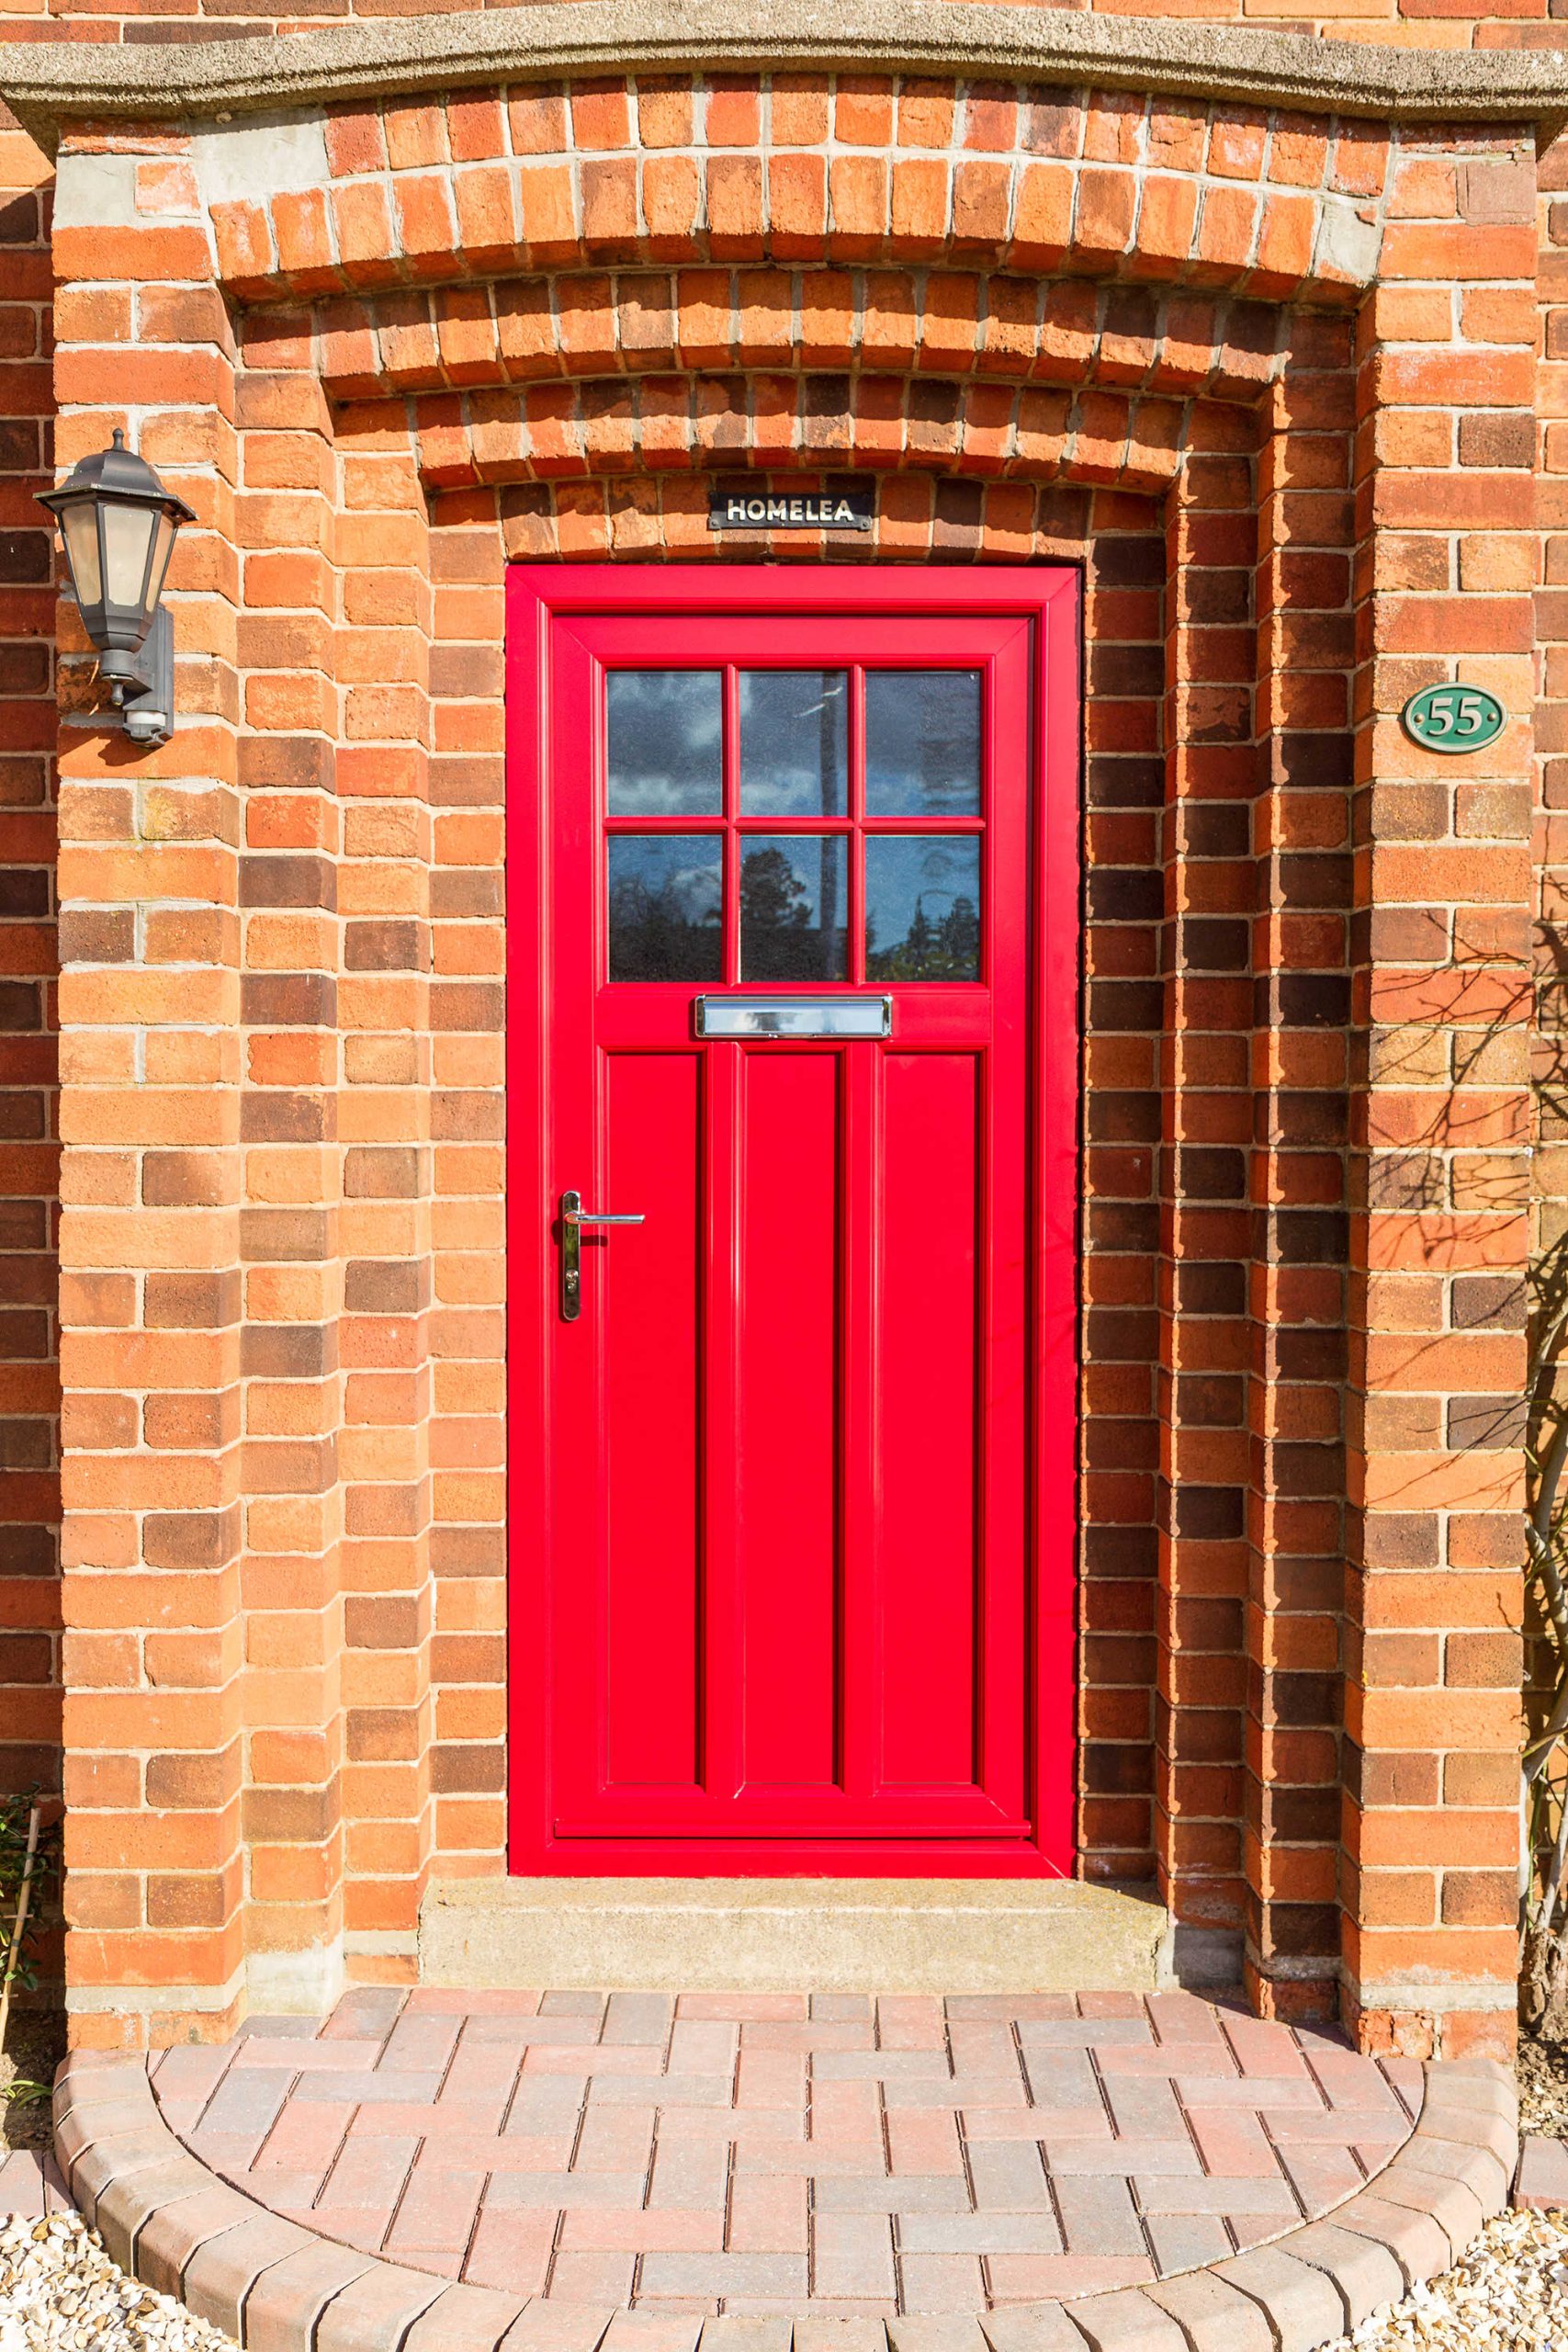
Install Sternfenster uPVC Doors
Our Sternfenster approved installers provide an excellent service every time. Quality products combined with quality service ensures that your new door is energy efficient, durable and stunning too.
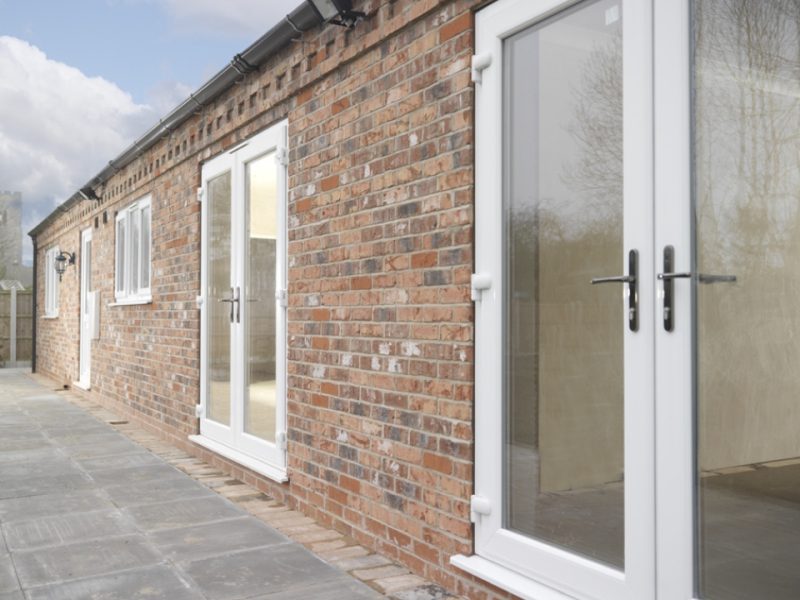
Ready for your next uPVC door installation? Explore our range of uPVC doors today, including:
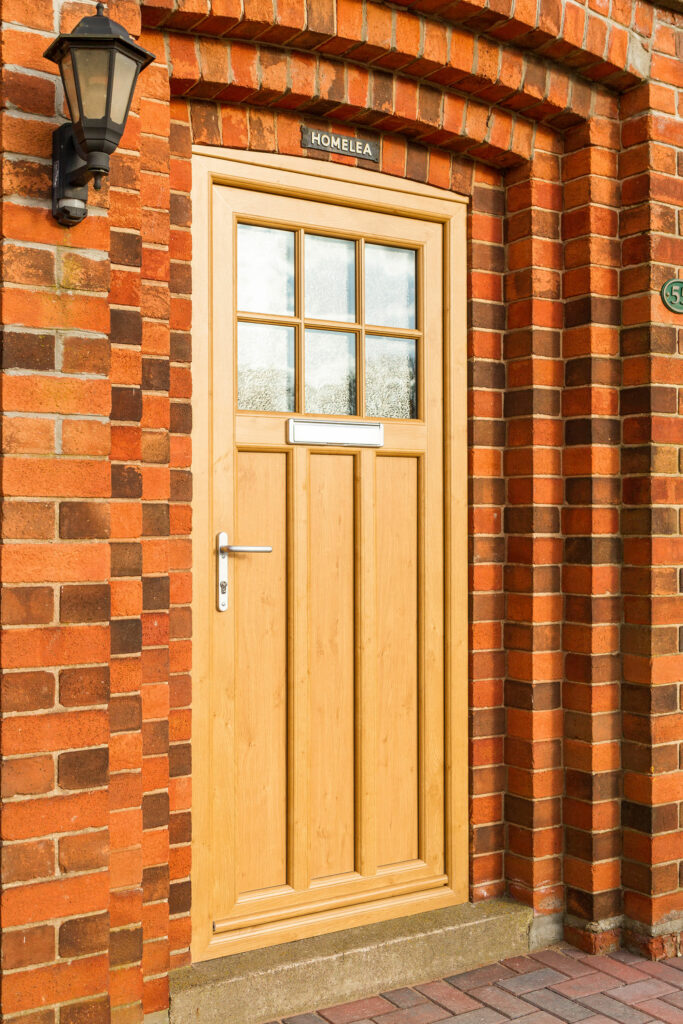
- uPVC Residential Doors
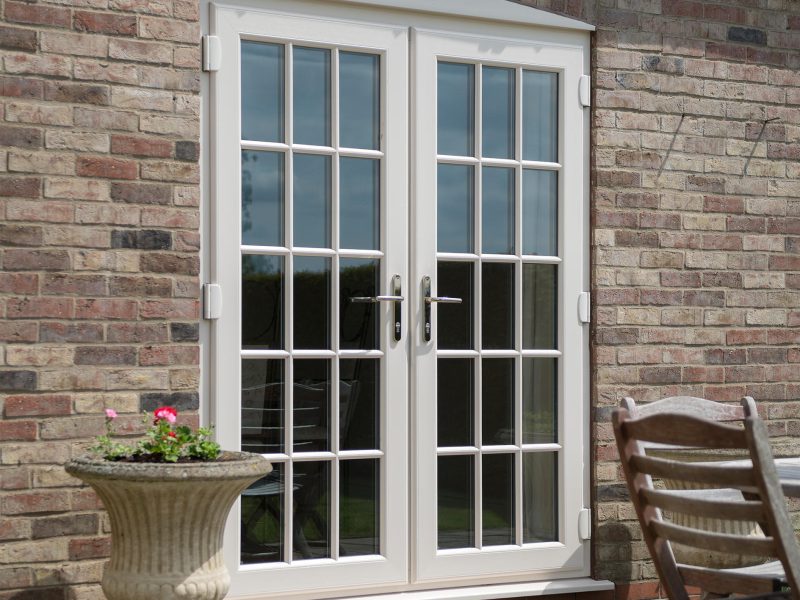
- uPVC French Doors
- uPVC Patio Doors
- uPVC Slider 24 Patio Doors
- StyleLine Doors
- Flush Doors
Contact us today if you would like to learn more about our uPVC doors. If you want to start your own installation process, find your local installer or get a uPVC door installation cost today!