A Trade Professional’s Guide to Perfectly Toeing and Heeling a Door
For trade customers and professional installers, mastering the art of toeing and heeling is a crucial skill for ensuring the longevity and flawless operation of every door you fit. At Sternfenster, we understand that your reputation as a trade professional is built on the quality of your installations. A professionally toe-and-heeled door not only prevents costly call-backs but also guarantees your customers a smooth, trouble-free experience for years to come.
This guide will walk you through the process, explaining the importance of this technique and providing a step-by-step method to achieve a perfect finish.
Understanding the Principles: Why Toe and Heel?
Before we explore how to perfectly toe and heel a door, it is essential to understand why this glazing technique is so crucial in today’s home improvement industry. Toeing and heeling is used to transfer the significant weight of a door’s glazed unit back to the frame and hinges.
Modern doors, particularly those with large double or triple glazed units, carry a substantial amount of weight. Therefore, without proper support, this weight will cause the door sash to “drop”, leading to a cascade of issues.
The consequences of a poorly supported door are immediately apparent and can be frustrating for both you and your customer. The most common problems include:
- Locking Mechanism Misalignment – The door will not align properly with the keeps, making it difficult or impossible to lock the door.
- Door Sash Dragging – The bottom of the door may rub against the threshold or the floor as it closes, creating a scraping sound and potentially damaging the frame.
- Aesthetic Imperfections – The mitred welds and frame lines on the lock side will no longer be perfectly aligned, detracting from the door’s visual appeal.
By correctly toeing and heeling the door, you create a strong yet unseen support structure that prevents these issues, ensuring a door that looks and functions as intended.
The Tools of the Trade: Toeing and Heeling
Before you begin, ensure you have the correct tools on hand. The process is straightforward, but the right equipment makes it quicker and more efficient:
- Glazing Packers – These small, durable plastic blocks come in various thicknesses and are the core component of the toeing and heeling process. They are inserted between the glass unit and the door frame.
- Glazing Paddle or Pry Bar – A flat, paddle-like tool used to create a gap between the glass and the frame, allowing for easy insertion of the packers.
- Nylon Hammer or Mallet – Used to gently tap the glazing beads back into place without causing damage.
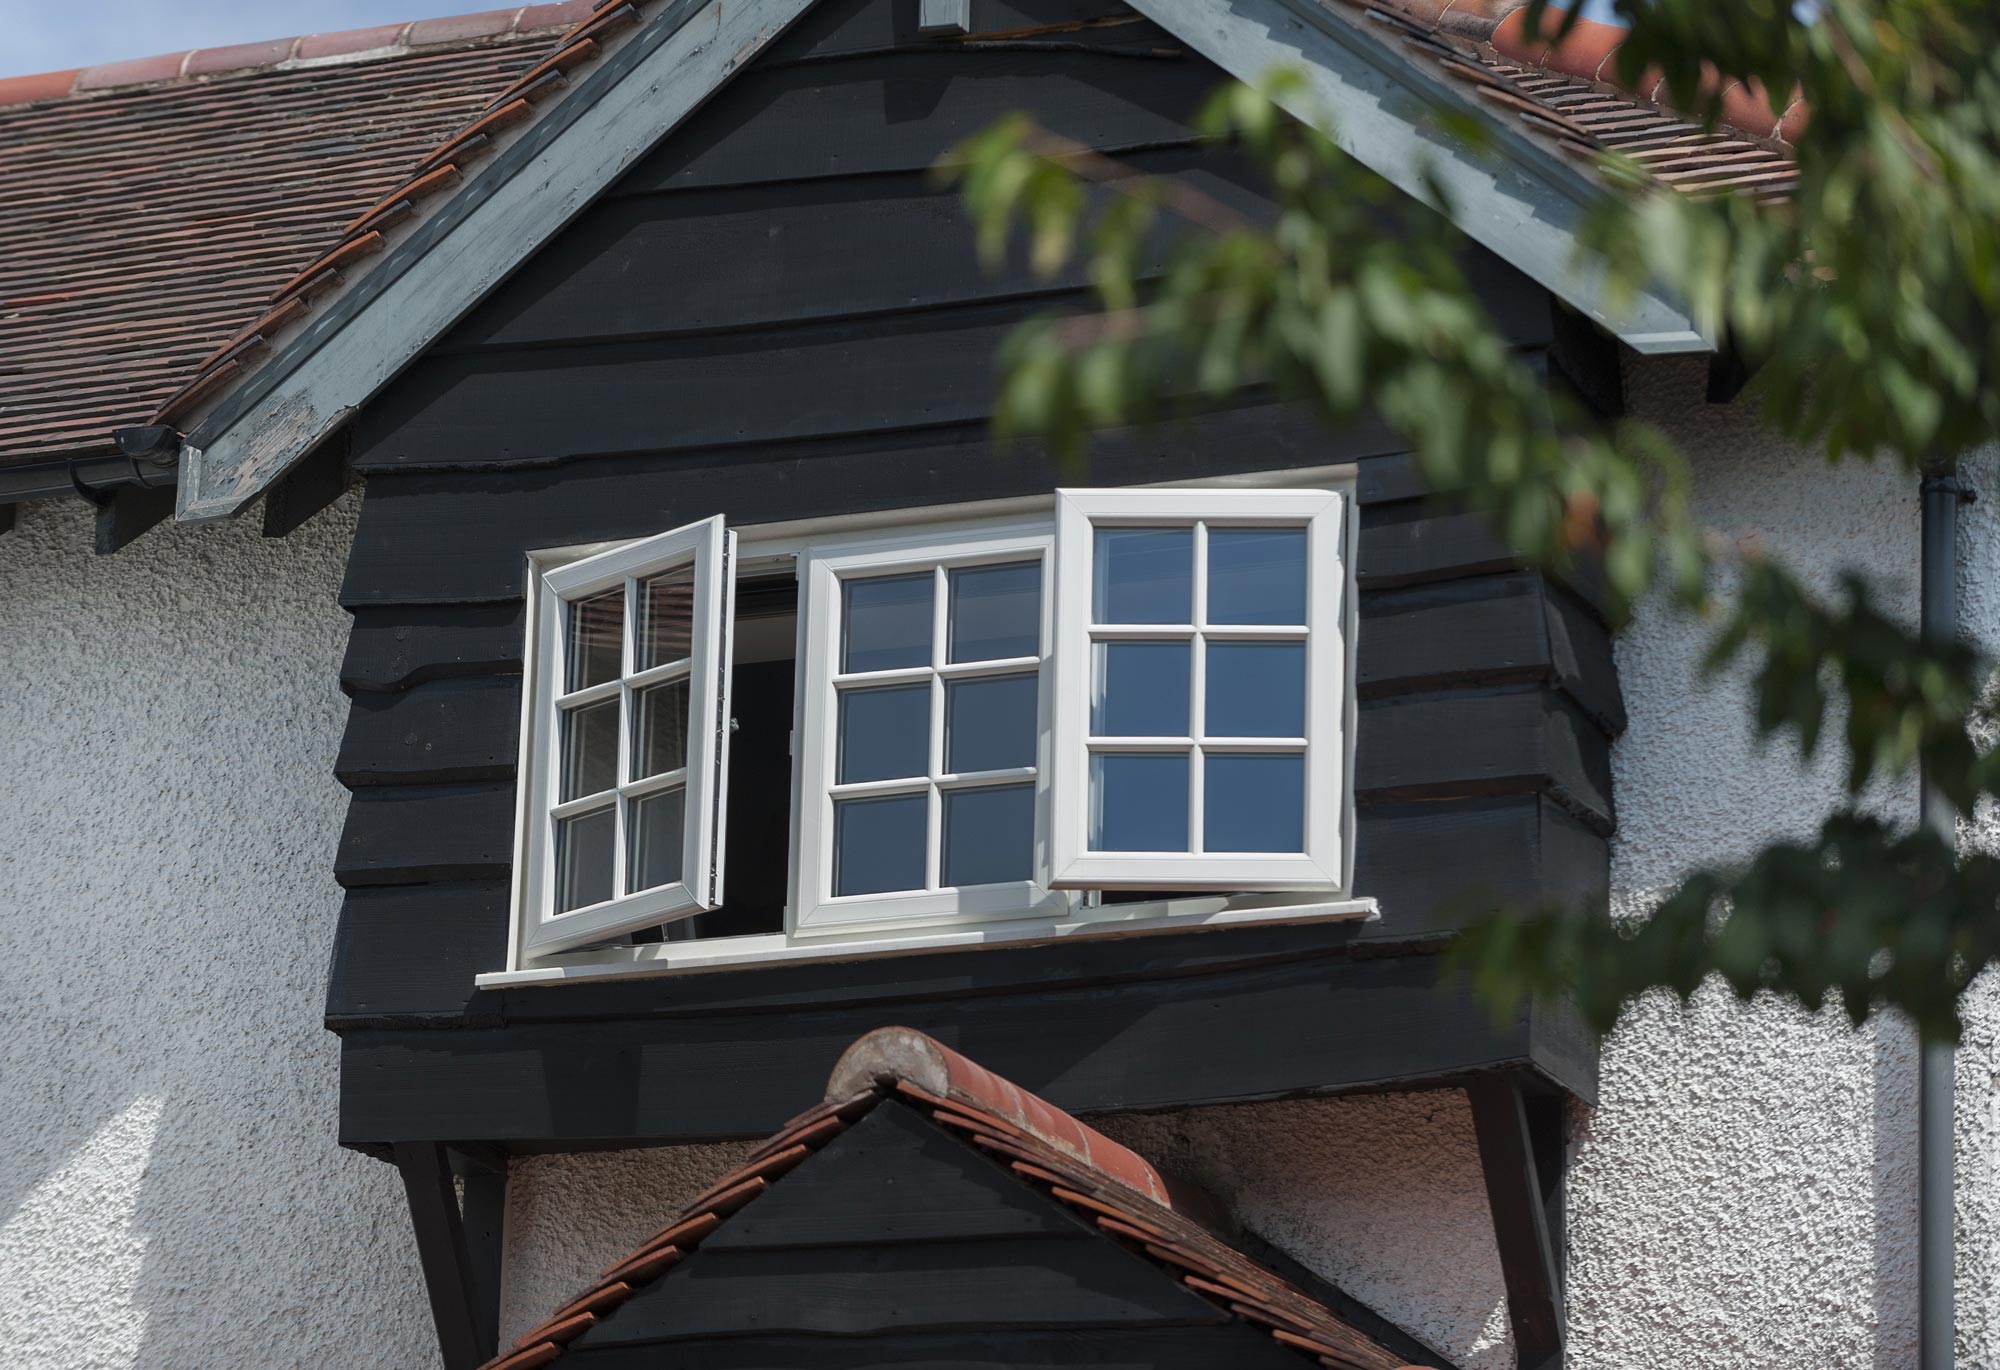
The Step-by-Step Method for Single and French Doors
The most common application of this technique is for single or French doors, and the principle remains the same. This would include bracing the glass diagonally from the bottom hinge side to the top lock side.
1.Prepare the Door – With the door sash deglazed, place it on a clean, level surface. The sash should be completely flat and free from debris.
2.Position the First Packers (The “Toe”) – Begin this on the hinge side. Place a stack of glazing packers in the bottom corner of the frame. These packers will support the weight on the hinge side and prevent any horizontal movement. It’s often helpful to secure them with a dab of neutral-cure silicone to ensure they don’t shift during installation.
3.Position the Second Packers (The “Heel”) – Move to the opposite, or lock, side. In the top corner, place a stack of packers diagonally opposite the first set. This is the crucial step that creates the diagonal brace, preventing the door from dropping.
4.Insert the Glazed Unit – Carefully lift the double-glazed unit into the frame, ensuring the bottom edge rests securely on the packers you placed in the hinge-side corner. The glass unit should be snug but not forced into the frame.
5.Lift and Brace – This is where the glazing paddle comes into play. Use the paddle to create a gap between the glass unit and the frame on the lock side. Apply upward pressure to gently lift the door sash back into a perfectly square position. As you do this, slide additional packers into the gaps you have created at the top and side of the frame on the lock side. You want to insert enough packers so that the glass unit is held firmly in place and the sash is perfectly square.
6.Secure with Glazing Beads – Once the door is square and the packers are securely in place, re-fit the glazing beads. Always start with the shortest beads first (typically the top and bottom), and then fit the longer side beads last. Use your nylon mallet to tap them gently into position until they are securely clipped in.
7.Final Checks – After beading is complete, open and close the door a few times to ensure it is adequately sealed. Check that the lock operates smoothly and that there is no scraping or catching. A perfectly toe-and-heeled door will open and close effortlessly, with the lock engaging cleanly.
Sternfenster, Your Partner in Professional Installation
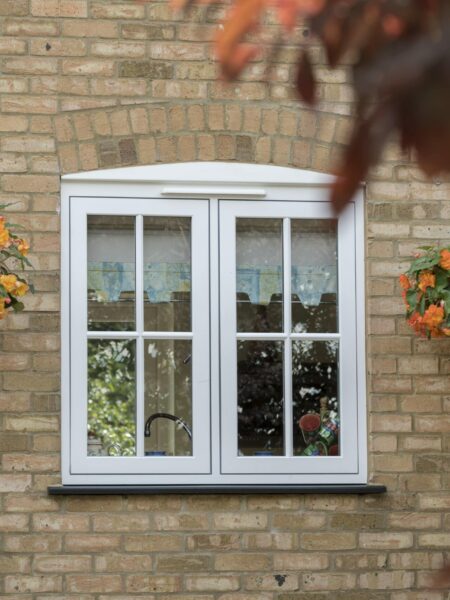
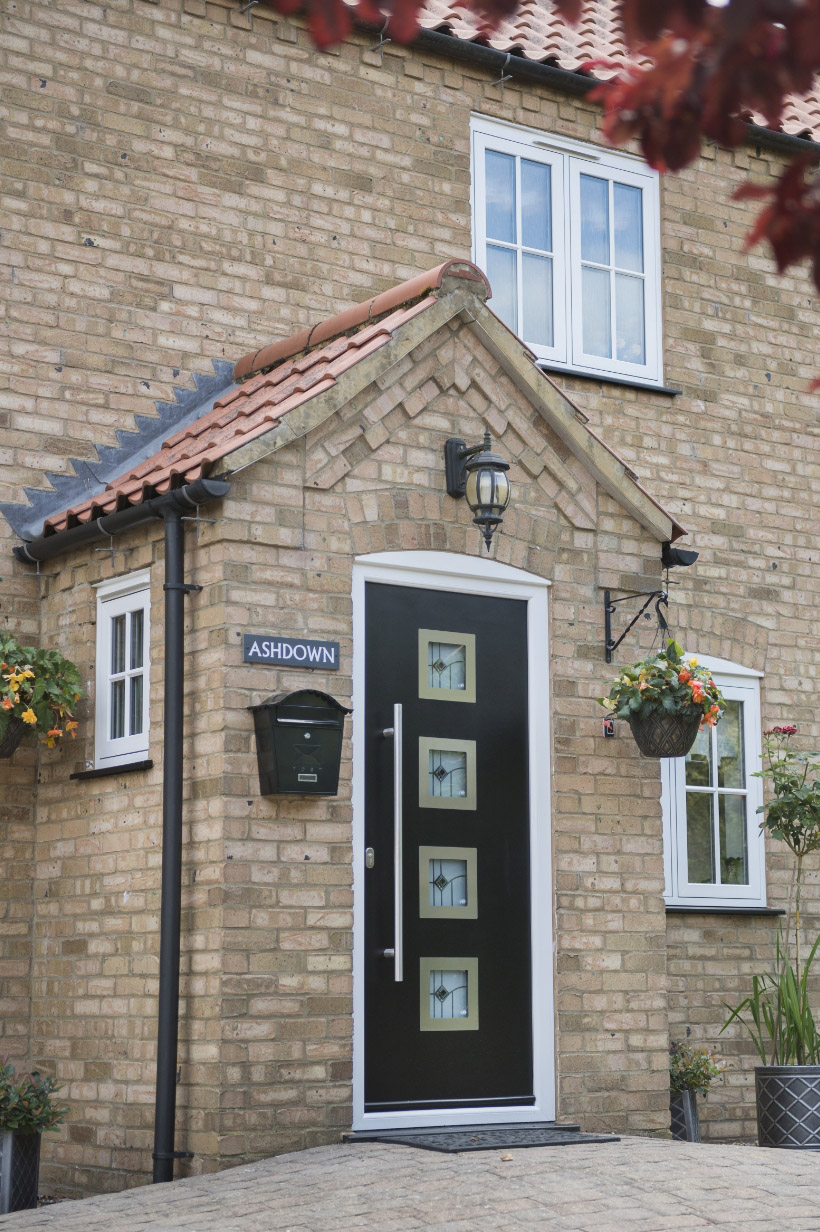
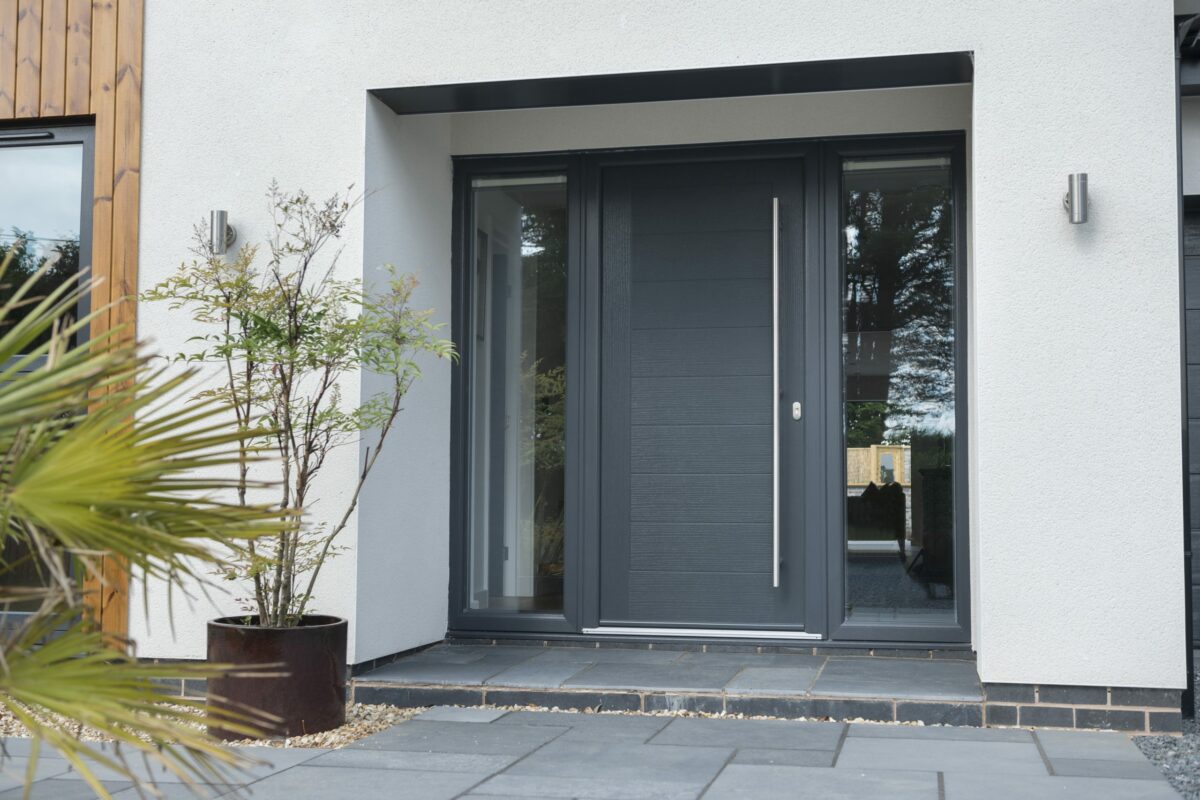
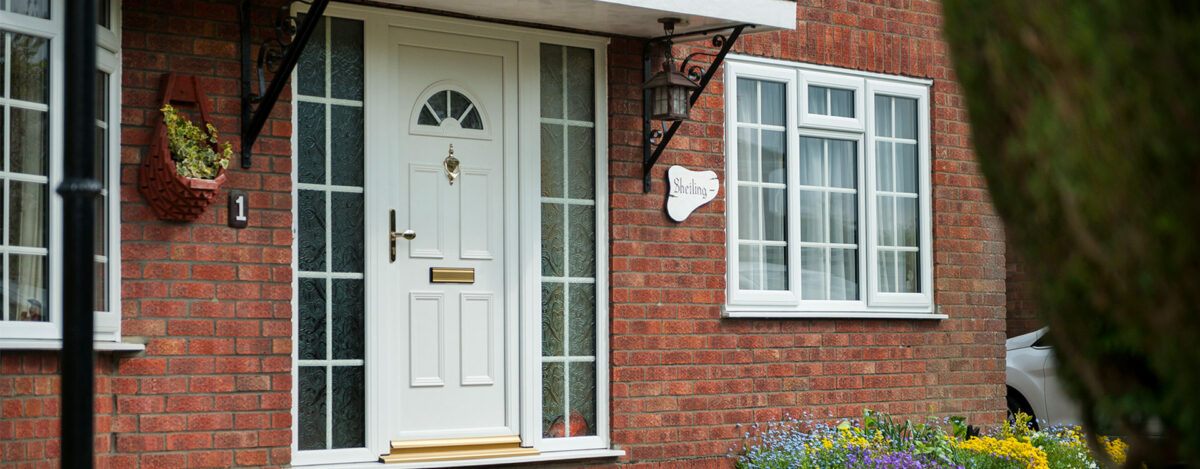
As a Sternfenster trade customer, you’re not just buying a product; you’re gaining a partner dedicated to your success. Our uPVC and aluminium doors are engineered for performance and durability, but their final operation relies on a professional installation.
We offer a wealth of support, including technical guides and product information, to help you excel. By following these professional-grade installation practices, you’ll not only deliver a superior finished product but also build a reputation for excellence that will help your business grow.
Get in touch with the Sternfenster team and Start Selling Sternfenster today!